
Valthirian Arc Art Perforce Operation
> Source : (Valthirian Arc Art Team Perforce Operation Guideline) https://www.notion.so/agategdd/Operating-perforce-7cca0d0cc7734d8c842290532fa25545?pvs=4
- Setting up perforce on your computer
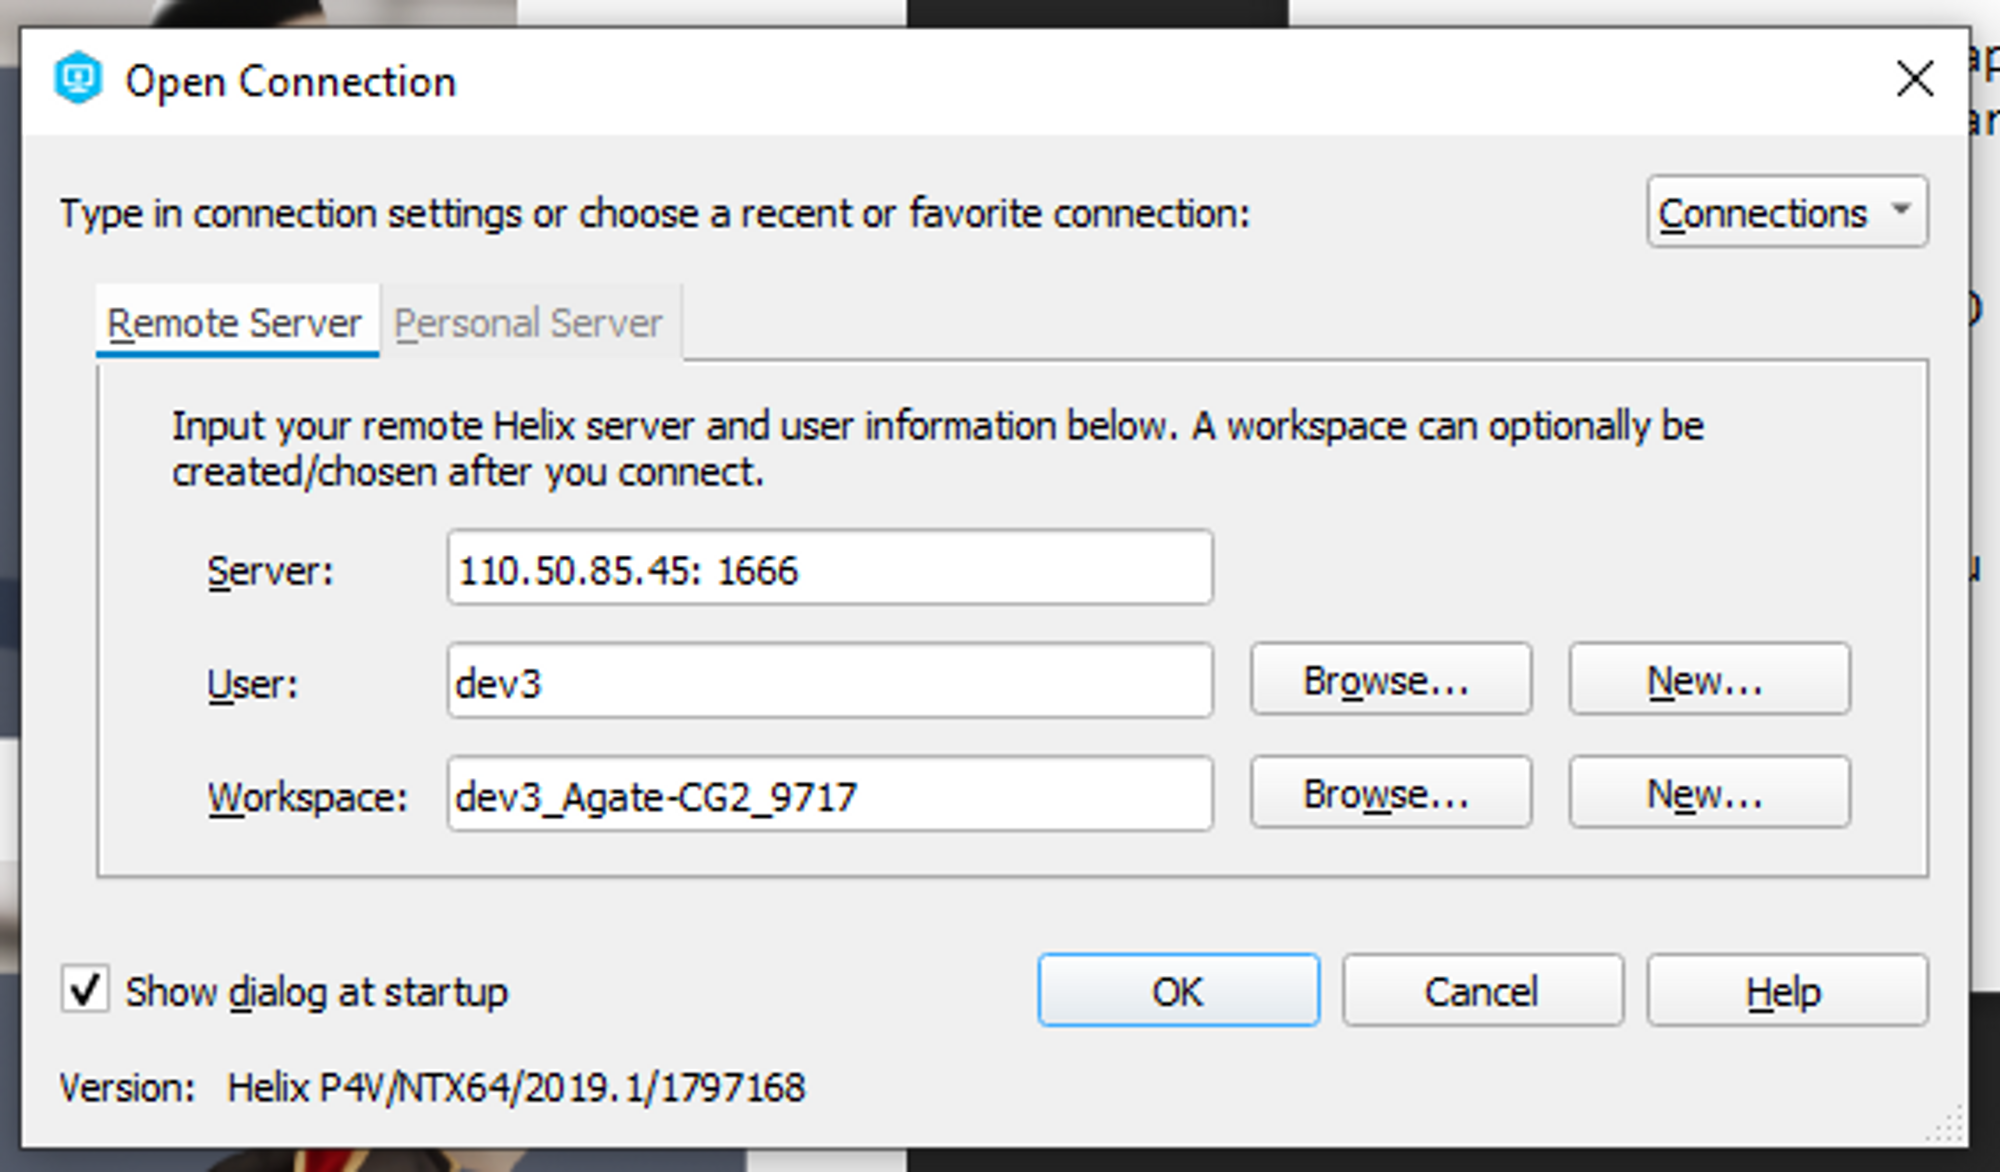
Input your server and username. These credentials should be given to you by your producer.
As for your workspace you should be creating a new one, assuming you don't have any yet. Click new. You can skip this step if this isn't the first time you set up perforce.
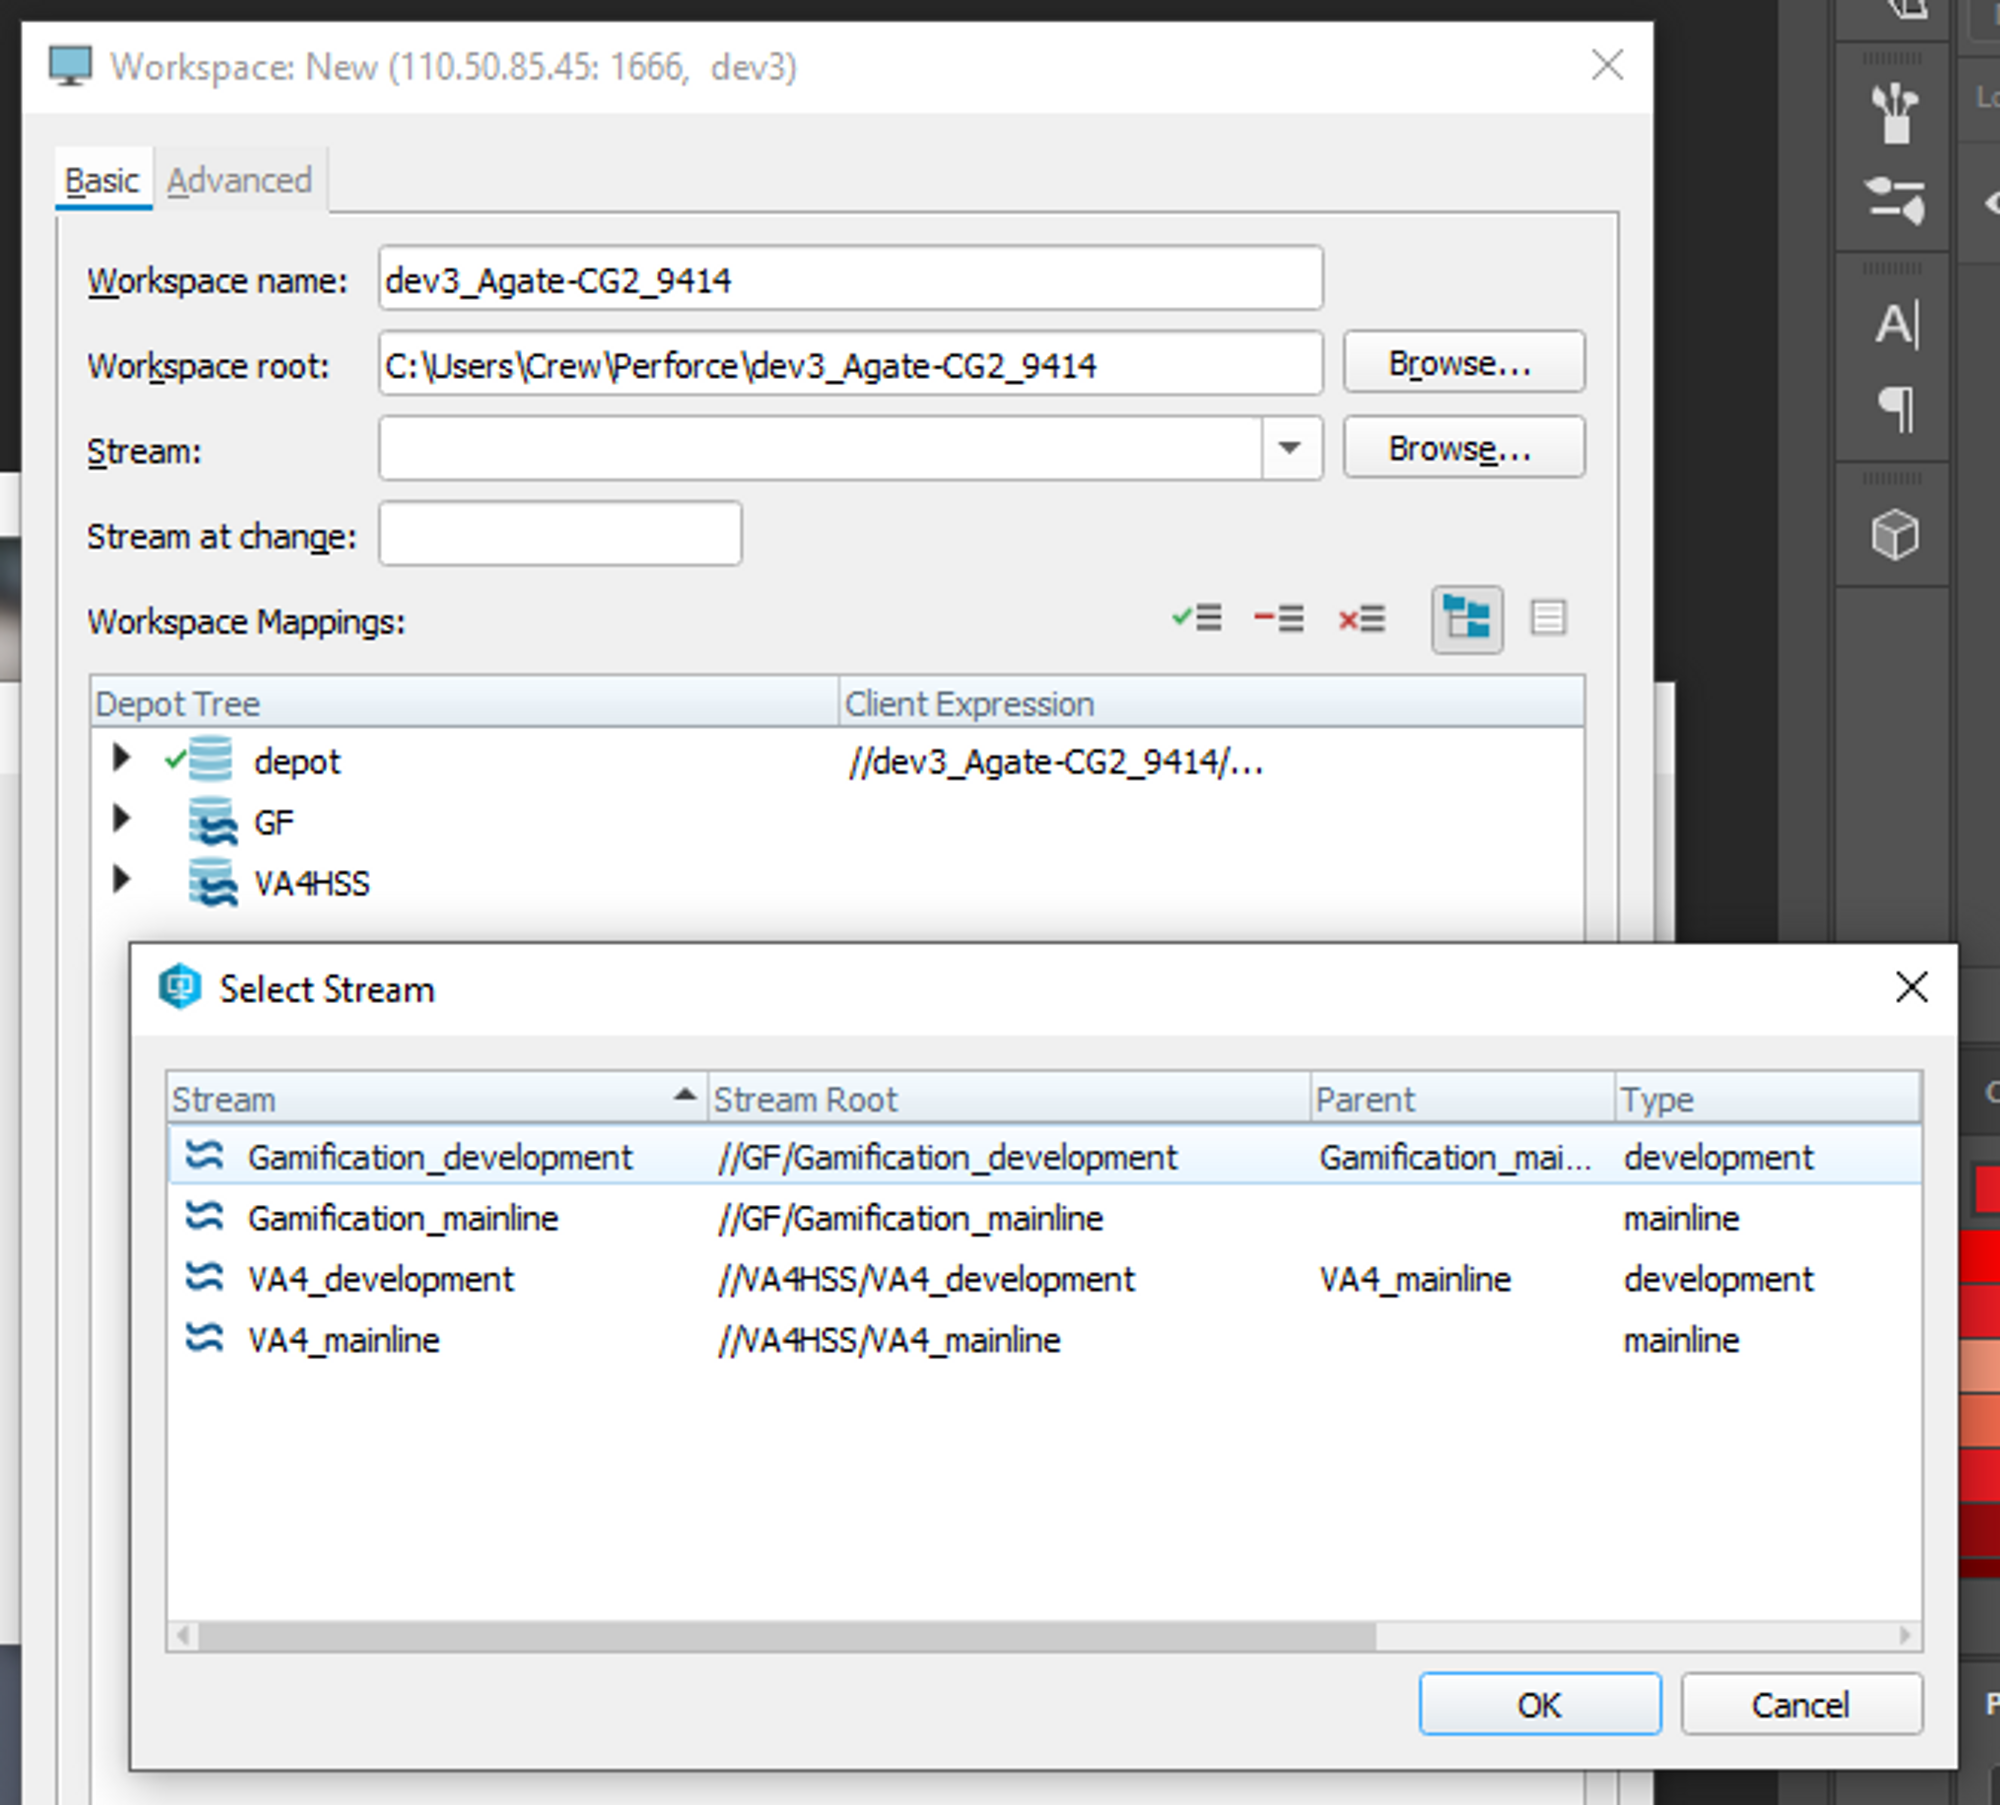
For workspace root you can input whatever path you want to use as your local file depository.
Pick VA4_development as your stream
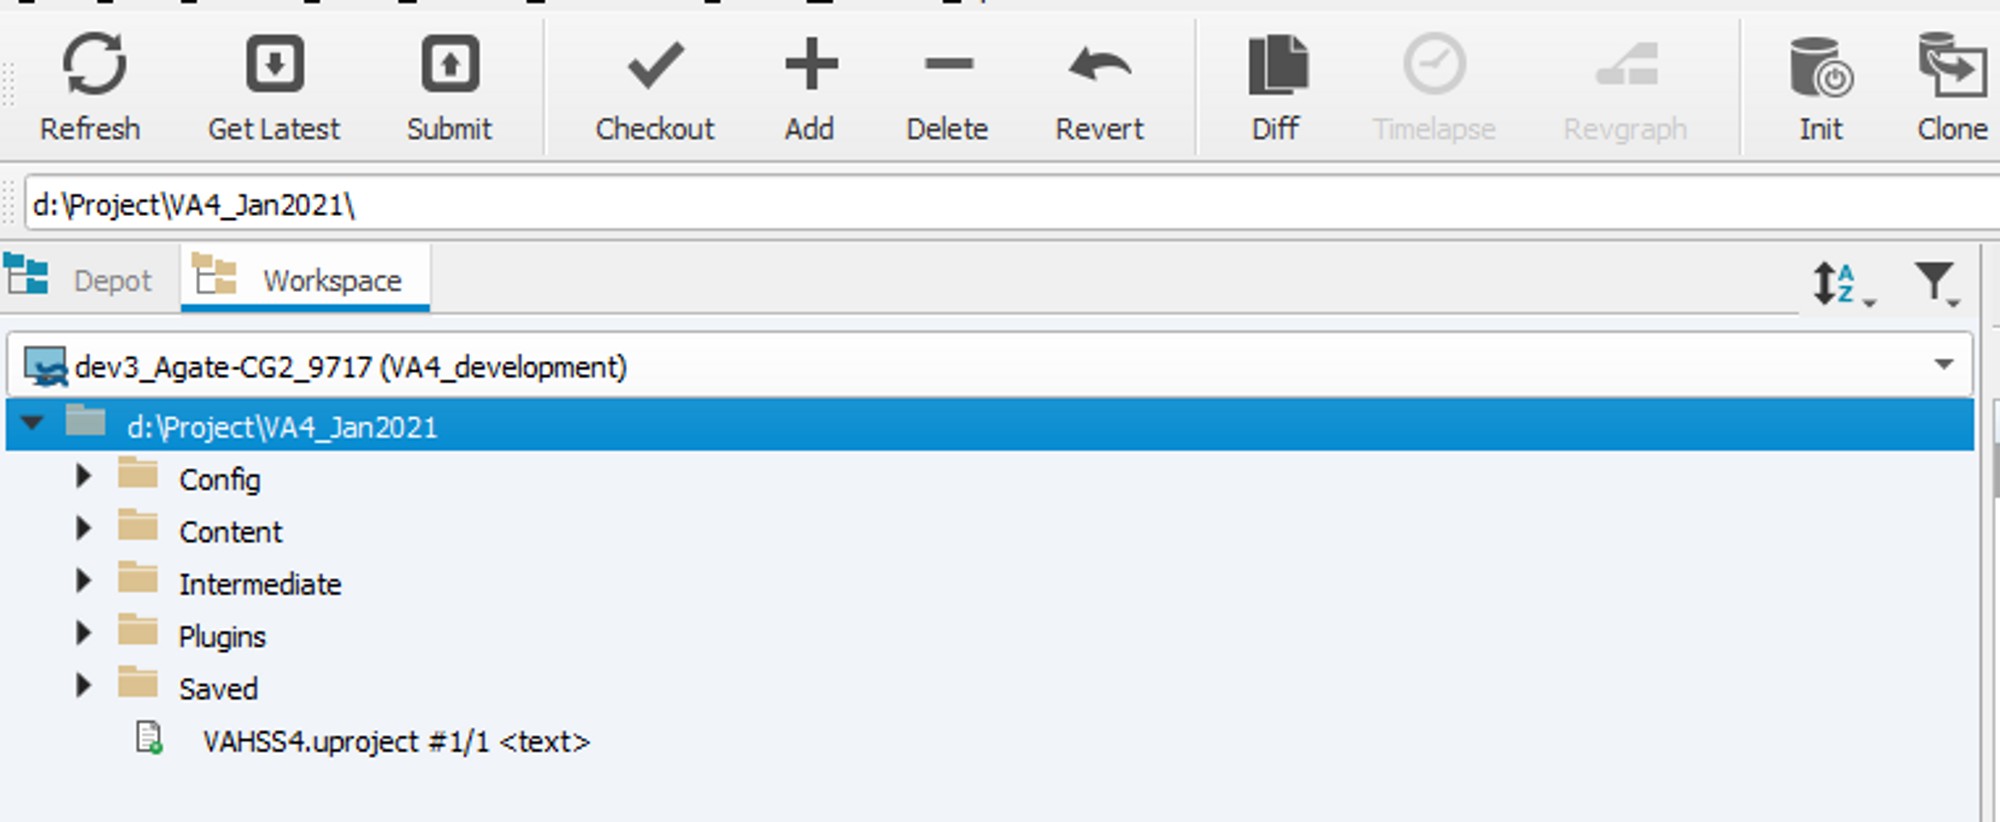
Click get latest and wait for perforce to download your project files.
2. Before starting your work on perforce
Click [get latest] to ensure that your files are on their earliest revision
3. Starting your work on perforce
Double click on VAHSS4.uproject to start working. Or use the unreal engine launcher, whatever floats your boat.

Click on source control and enter your credentials the same as above. A message should appear on successful source control connection.
Left click on the file that you want to work on, and click check out. This is meant so that you don't work on the same file as anyone else on the team, and it prevents them from saving on the same file as the one that you are working on.
4. Adding new files. If you add new files (by importing, renaming or creating them in-engine) please make sure to select mark for add. This can be done by left clicking the particular file in unreal or when checking them in inside perforce.
5**. Saving your work**
When saving your work, perforce will remind you about the files that you worked on, and which one that you have or haven't checked out.
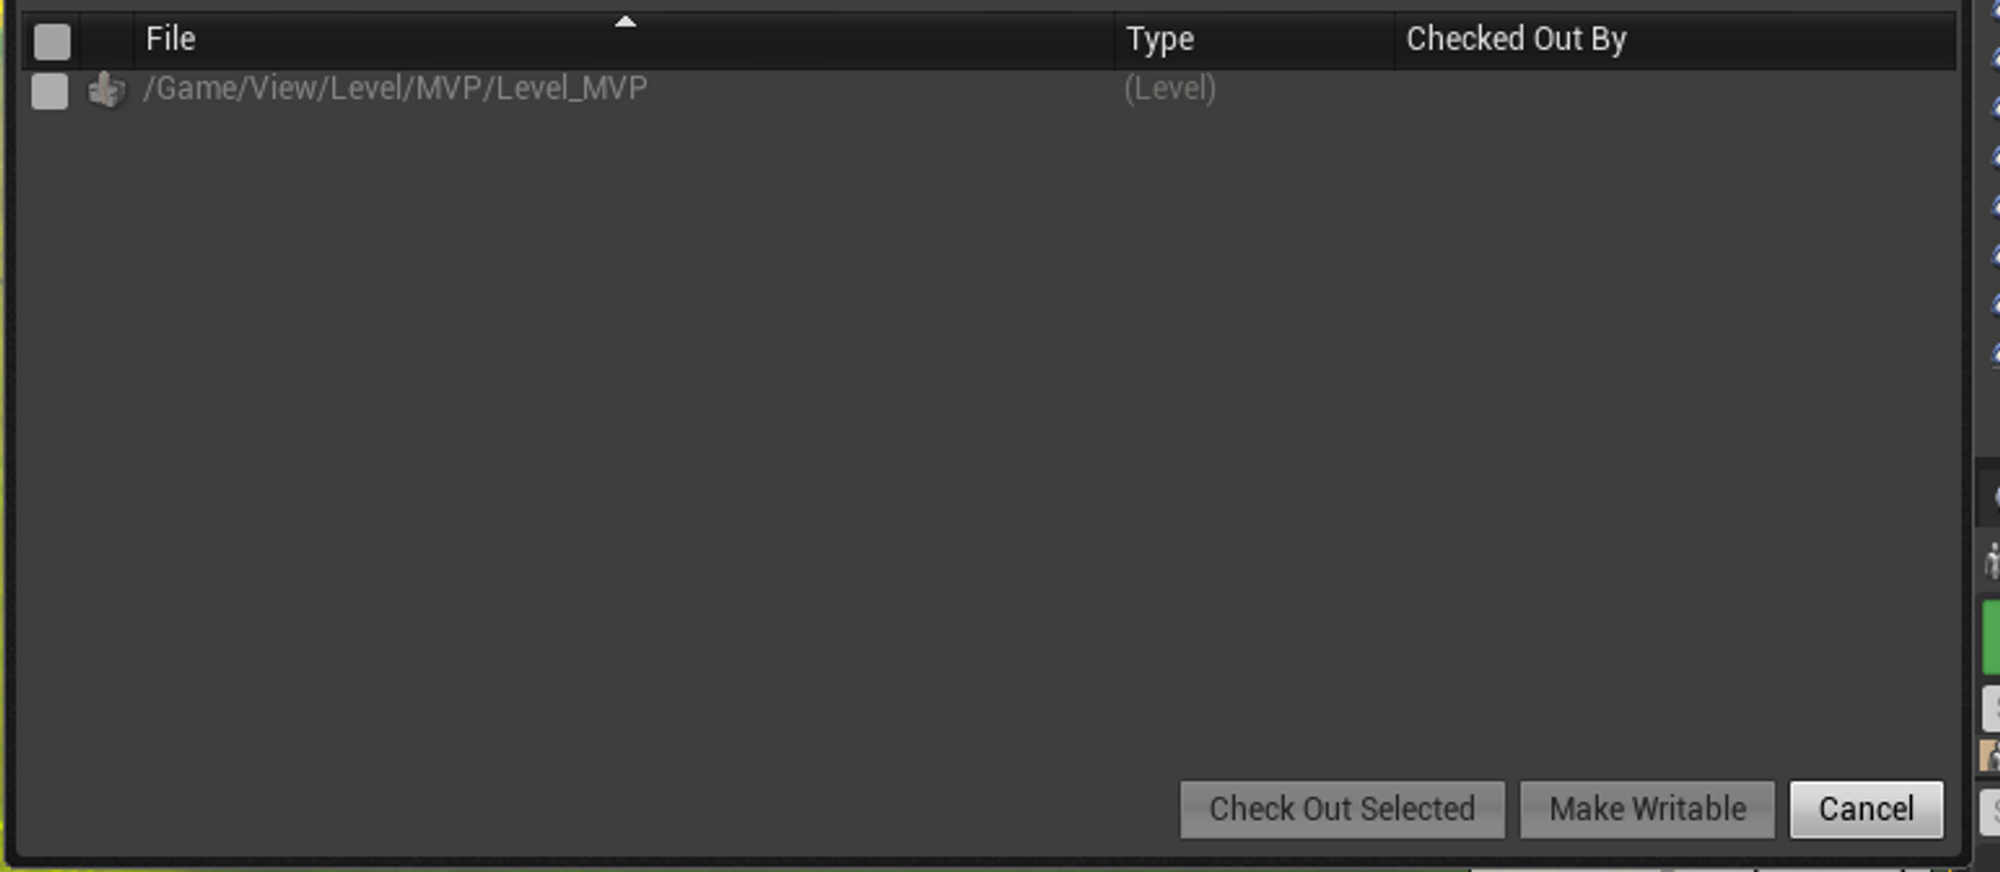
Check the files that you haven't checked out, and click check out selected, and save your work.
6**. Checking in**
There are two ways you can check in your work:
- Through perforce after you saved your checked out work

- Left click on the folder of the files that you worked on, click submit. If you are working on files that is contained on multiple folders, you can left click on the root folder instead.


Please do not forget to type in your changelist and your name so that you can track whatever changes you made to the project.
Once your changelist is listed on the history tab, everyone can test and enjoy your work!
The demerit of using this method is that you might accidentally check in the files that you worked on, but don't want to check in right away. Refer to no.4 and 5 to prevent this from happening, or refer to no. 7 on what to do if if happens.
- Through UE when you are saving your work
Left click on the file that you worked on inside the content browser.
Click check in, and enter your changelist on the box given.
Done! you've finished your work.
The demerit of using these method is that you probably will have to check in your files per folder.
7. What if I accidentally checked in the files that wasn't meant to be checked in?

Left click on the files that you didn't want to check in, and click get revision. Select the previous revision of the file(s) and click get revision.
You can also click on undo changes but this way you won't be able to see which revision that you wanted to get back to.
No Comments