
Using Git Source Control In Unreal Engine
🚪 Prerequisite Knowledge
-
Unreal Engine Git Plugin Installed
❓ Key Question / Problem / Issue
- How to use git plugin in Unreal ?
- How to add file to source control ?
- How to avoid Conflicting change ?
- How to Lock file from other people changes ?
- How to modify file tracked in source control ?
✅ Expected Output/Definition of Done
Reader able to setup Git Source Control in Unreal Engine 5
🎁 Resulting Solution
Unreal Engine Git Usage Basics
-
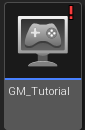
Don't check out files marked with
!
pull latest changes to remove this mark
-
Always Pull latest Change Before modifying / Checkout any files
-
Always Check Out file you've changed.
-
Always Pull Before Submitting Changes
-
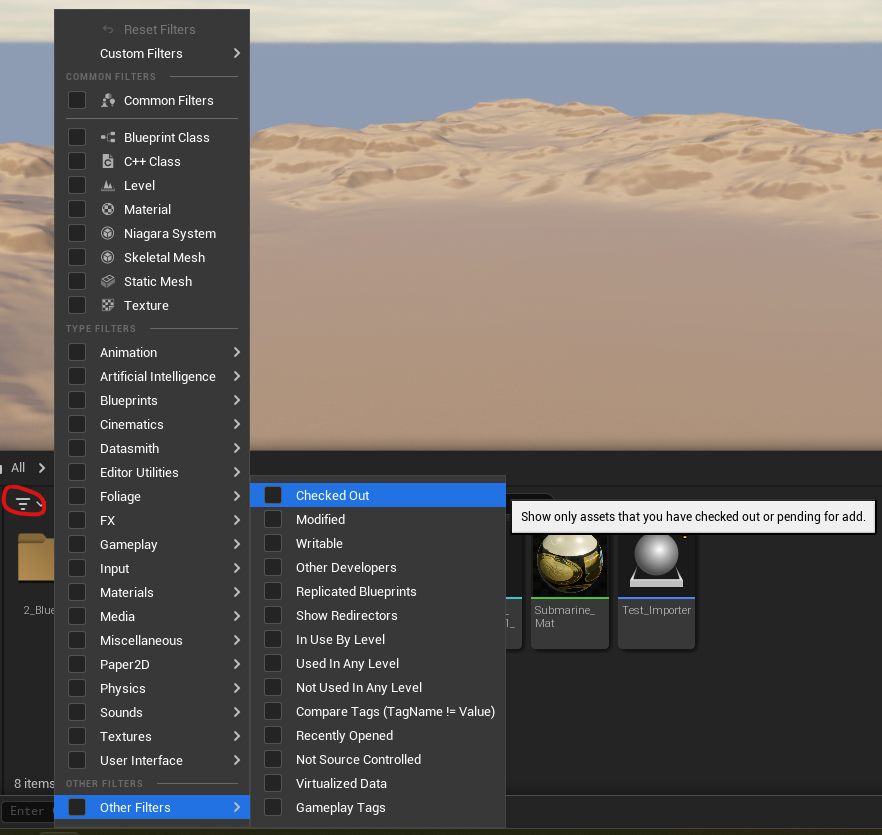
Utilize Unreal Content Drawer Filter function to manage your version managed files

-
Utilize git GUI (e.g : Fork, and Tortoise Git to check file source control status)

Ensure your Git Source Control Plugin are Active
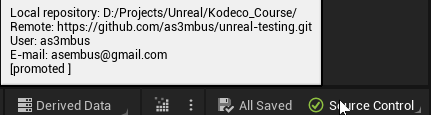
if your source control is not yet activated follow this guide
Source Control Icons Explanation
If source control is fully connected, you may seen various icon on top-right of the assets. Here is the icon shapes and its descriptions as you can see at the image below.
Adding Files
To start adding file to source control simply follow these steps :
Ensure to Pull / Refresh the latest changes before Adding, Modifying, Renaming, Deleting any assets
-
Create / Add / Import File you want to distribute through source control
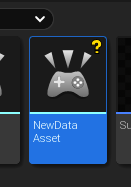
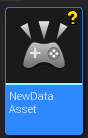
Files will be marked with yellow
?symbol when added -
Select file(s) / folder(s) you want to add

-
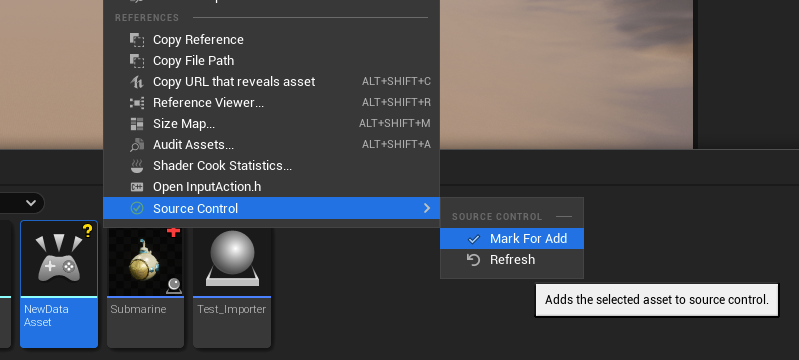
Right-click to open the context menu then select
Mark For Addmenu

-
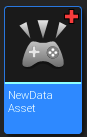
your file will be then marked with Red
+symbol
-
Submit your content following Submit Content Section

Checking-out (Locking) and Modifying Files
The main way to share content with collaborators is via the Content Browser. All source control operations are accessible via the context menu for files and folders.
Manual Check Out
To Check Out a file (i.e. lock it for editing), Right-click on the asset and then select the Check Out option.
Prompted Check Out
-
When you edit asset, there’s pop a notification to check out these asset.
-
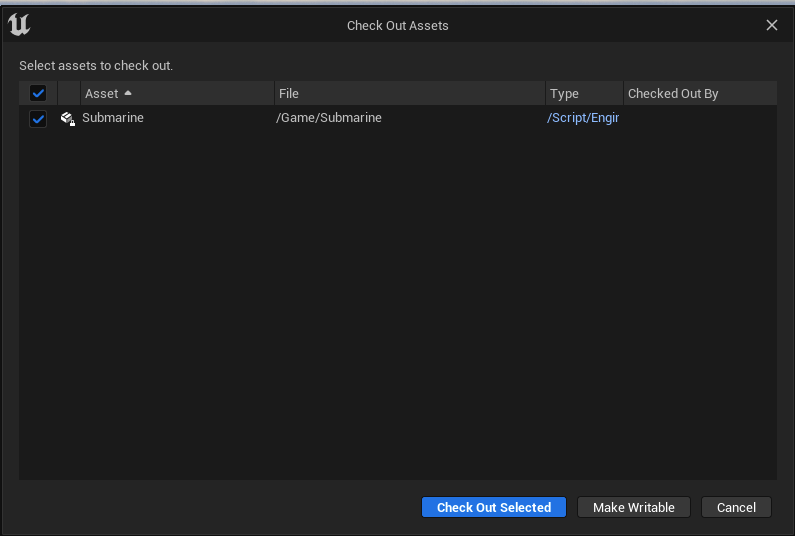
click the Check-out link, then you will be presented with this dialog:
-
Select one of the three button (check the descriptions of each button below)
Avoid selecting
Make Writableas it would save your change without locking the file, nor marks it as modified file in unreal engineOnly use this when you know what you are doing !
-
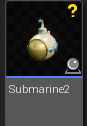
If you select Check Out Selected button, Icon would be added to your asset thumbnail
And would be there till you push the asset (check-in) or discard (revert) your changes.
Delete files
-
If you delete any file, you would see the Delete Assets dialog. It will tell you the asset data, like name, class and refferences of the file you delete.
if you are sure to delete the files, select Force Delete button.
-
Deleted File will also be checked out automatically You should also submit file deletion changes to the source control
Submit your changes following Submit Content Section
Move/Rename Files
-
When you move/rename file you will be prompted to check out the file.
-
ensure to checkout the orignal file names / directory you renamed / moved this will checkout (lock) the old file name/locations to ensure other people doesn't modify it anymore.
-
Moved/Renamed files will still need to be
Mark for Adddescribed in Adding File Sectionotherwise it will only count as file deletion.
-
These change need to be submitted, these steps are described in Submit Content Section
Changes need to be submitted before applicable to other developer machine.


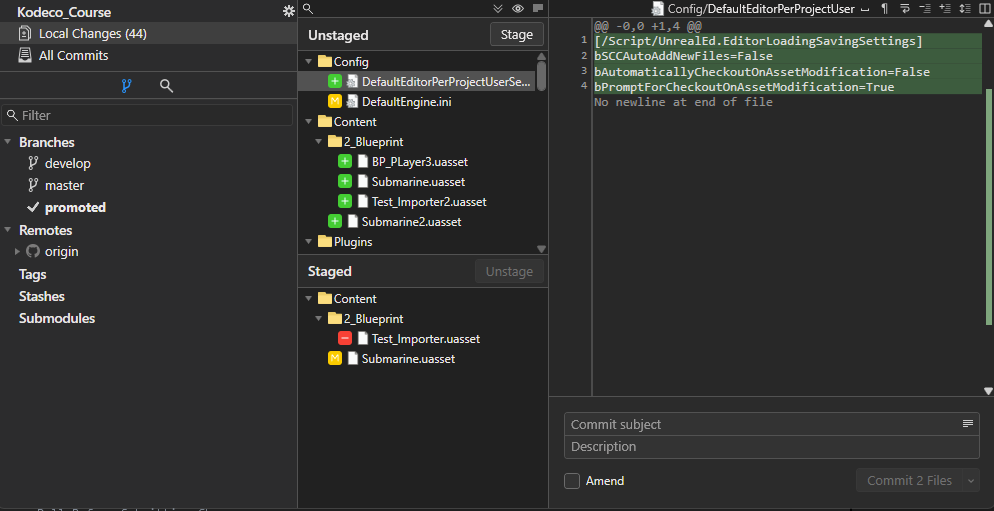
(Optional) Automatically Check Out File on Save
you can set the editor to automatically check out files on save by enabling Prompt for Checkout on Asset Modification.
to enable this you need to follow the following steps :
- Open Editor Preferences
- Click on Loading & Saving scroll to Source Control.
Submitting Content to Source Control
Submitting to Source Control in Unreal Engine is a vital part of the Source Control process. If you do not submit anything to Source Control, other users will not be able to see what you have been working on or created.
To submit all checked out asset follow these following steps :
-
go to Source Control at the bottom-right of UE editor
-
Press Submit Content.
This will scan your project and the Engine for changes made to assets that can be submitted and then present you with the Submit Files dialog.
-
Fill the change list description (it will be a message commit) and Submit.
-
Once you submit it, all of related assets (checked out or new file) and its checked would be committed and pushed to the repository.
Additional Source Control Commands
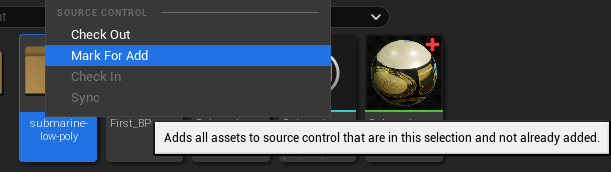
When using right-click on a single (or multiple) file
- Check Out Lock file(s) so other user can’t check-out, useful to prevent conflict. It’s advisable to Check Out file before editing/working on it.
- Check In Submit (Commit & Push) selected file(s), also Unlock the file from Git-LFS
- Sync Synchronize (Pull) selected file(s). If the file(s) is referenced by other files, the referencing files will be synchronized too.
- Refresh Refresh the current file status/icon
- History Show the changes made to this file. Right click on any history item to show popup menu to see changes between selected commit with previous commit or current working file
- Diff Against Depot See side by side differences between current working file and last committed one.
- Revert Discard changes and unlock file